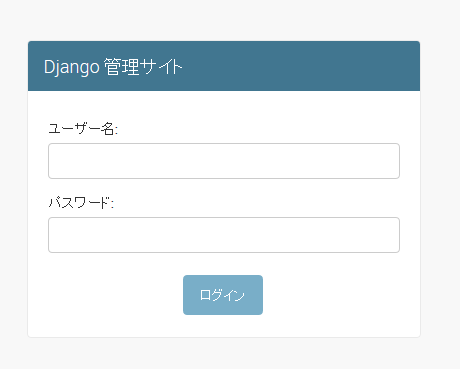
Djangoでプロジェクトを作成すると、デフォルトの管理画面があります。 管理画面へのアクセスは、"サイトURL/admin になり、アクセスすると以下のようなログイン画面が表示されます。

管理画面の初期化
プロジェクトを作成後、管理画面にログインするためには、データベースのマイグレーションと管理ユーザーの作成が必要になります。 データベースは、デフォルトのSQLite3になり、MySQLを使う場合は設定の修正が必要になります。
-
DBマイグレーション
管理用ユーザー情報はデータベースに保存するため、データベースに管理用テーブルなどを作成する必要があります。 マイグレーションの実行は以下のようになります。
python manage.py migrateマイグレーションを実行すると、以下のようになります。
# python manage.py migrate
Operations to perform:
  Apply all migrations: auth, admin, contenttypes, sessions
Running migrations:
  Rendering model states... DONE
  Applying contenttypes.0001_initial... OK
  Applying auth.0001_initial... OK
  Applying admin.0001_initial... OK
  Applying admin.0002_logentry_remove_auto_add... OK
  Applying contenttypes.0002_remove_content_type_name... OK
  Applying auth.0002_alter_permission_name_max_length... OK
  Applying auth.0003_alter_user_email_max_length... OK
  Applying auth.0004_alter_user_username_opts... OK
  Applying auth.0005_alter_user_last_login_null... OK
  Applying auth.0006_require_contenttypes_0002... OK
  Applying auth.0007_alter_validators_add_error_messages... OK
  Applying sessions.0001_initial... OK
参考 Migrations(django Documentation)
管理ユーザーの作成
プロジェクトの管理ユーザーは以下のコマンドで作成できます。
python manage.py createsuperuser実行すると、管理ユーザー名、メールアドレス、2回のパスワードを求められますので、入力します。
$ python manage.py createsuperuser
Username (leave blank to use 'root'): admin
Email address: admin@example.com
Password:
Password (again):
Superuser created successfully.
ログインすると、以下のような画面になります。

参考